The Personal Reports guide provides the steps for creating and visualizing reports in the following sections:
Accessing Personal Reports
The Personal Reports menu allows you to create and access your already created personal reports. As they are personal, they cannot be shared with anyone else, even within the same project.
The content of personal reports consists of filtered information from a dashboard widget generated with a scheduled frequency. Currently, only Table and Chart widget data can be added to personal reports.
Personal reports can be found at User menu ![]() > Personal Reports option from the drop-down menu:
> Personal Reports option from the drop-down menu: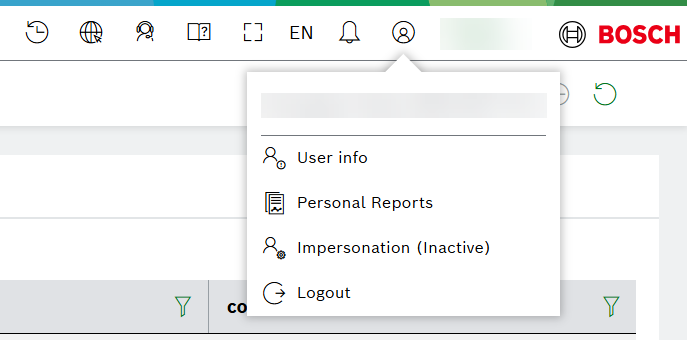
Proceed as follows
Fulfill the necessary actions as described below, namely:
- Enable the service on project level.
- Create or use an existing dashboard with a filter widget and another widget, which displays the filtered data. Make sure that the filter widget contains a time range filter as well.
Currently this feature is supported only for Table and Chart widgets.
- Create a report, where you define the frequency of report generation.
- Create a report topic, where the actually filtered data from the table widget for the respective time range will be gathered.
- Check the email notifications for quick access to the reported data.
All these steps are explained in more detail below.
Enabling personal reports on project level
- To enable personal reports within your project, go to Admin > Project on the left navigation.
Admin role is required.
- Open the Notifications tab.
- In the Personal reports area, activate the checkbox for Personal reports.
- Confirm with Save.

Creating a personal report
You need to create a report in order to schedule the frequency of reporting. Later on, you can create different topics in it.
Proceed as follows:
- Navigate to User Menu
 > Personal Reports option from the drop-down menu:
 - Open the Report Settings tab.
- Click
 Create Report.
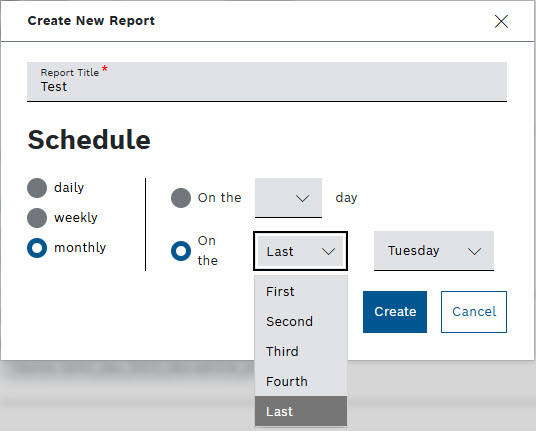
 - In the dialog that opens, fill in the settings as follows:
- Enter a Report Title.
- Select the desired frequency of report generation in the Schedule area.
- Confirm with Create.
Enabling personal reports on widget level
For each widget, you can choose whether to activate the personal reports feature or not.
To activate it, proceed as follows:
- Open the widget configuration editor from the widget options menu,
 Edit Widget option.
Currently, only the Table and Chart widgets support personal report generation, therefore the next steps refer to the the table and chart widget configuration editors. If you are new to the table widget, refer to Table widget in the User guide. The same steps apply to configuring all the types of Chart widgets, including additional configurations based on the chart. Find an example of the Region Configuration at Enabling additional parameters on Chart widgets level section.
- Expand the General Settings section.
- Аctivate the Enable Reporting checkbox. This will make the widget available for personal reports and the respective email notifications.
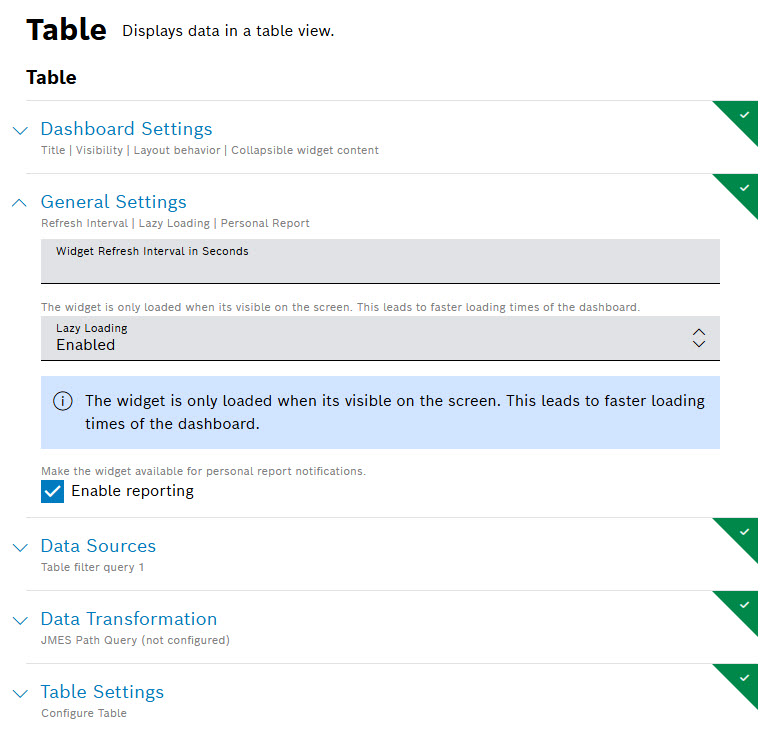
- Click the Save button from the left-hand side at the bottom to save the changes.
Enabling additional parameters on Chart widgets level
In Region Configuration, you can set and add up to two conditions using the Compound Logic Editor AND as shown on the following example:
After confirmation, and creation of a personal report topic, as described in the next section, the result from viewing the generated report may look like the following tunnel: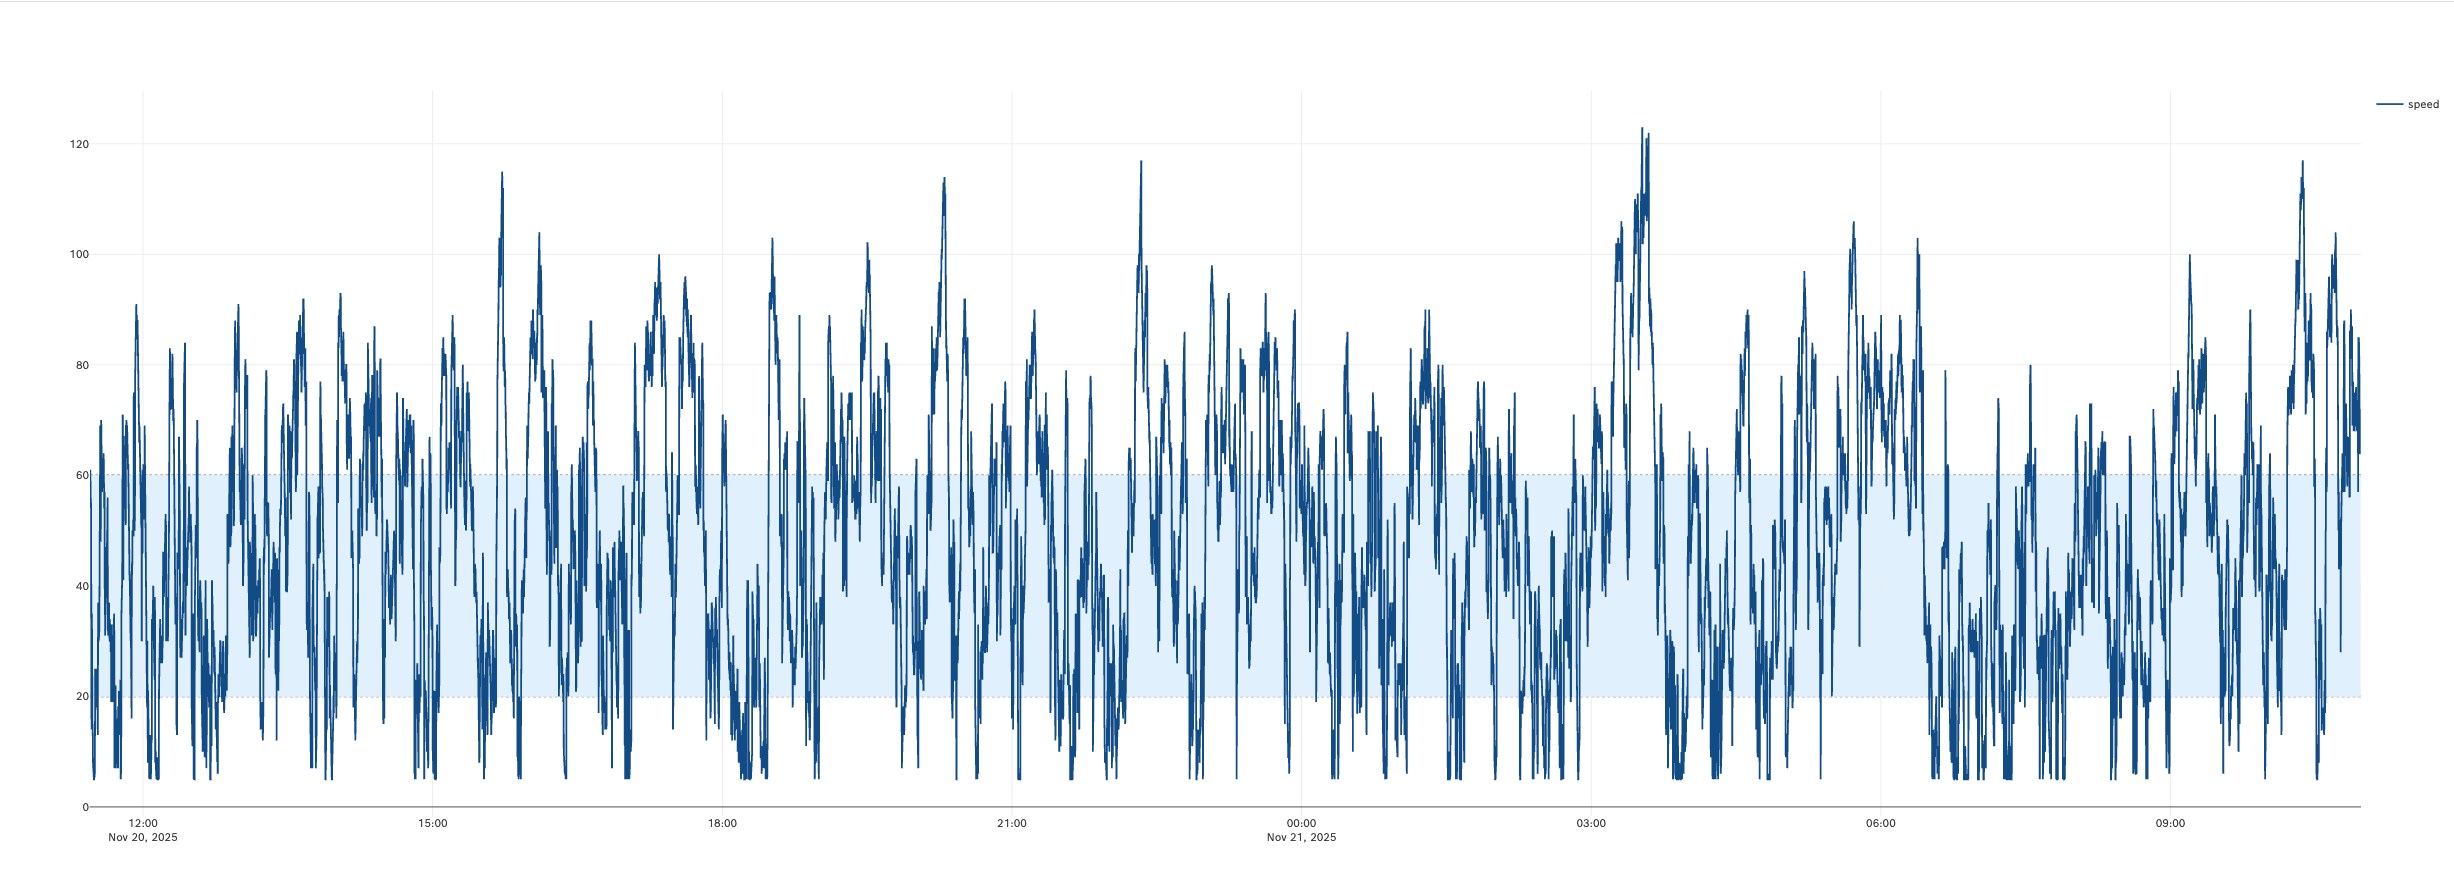
Creating a personal report topic
- On your dashboard, click the table widget options icon.
- Select the option Add to Personal Report.

- On the dialog that opens:
- Be aware that the filtering from the filter widget of the same dashboard is applied automatically. In the Selected Filter section, you can edit or remove an existing filter, or add a new one by selecting the Add filter button.
- In the Topic Title field, enter a title for your new report topic.
- In the Select report field, select an already existing report described earlier on this page or create a new one by clicking Create new Report.
- When ready, select Confirm.

→ A notification message appears stating that the topic has been added successfully to the report you have selected:
- Upon that, when the configured interval is reached, you will receive an email notification about the generated report.
- Be aware that the filtering from the filter widget of the same dashboard is applied automatically. In the Selected Filter section, you can edit or remove an existing filter, or add a new one by selecting the
Viewing the generated reports
You can easily access the generated reports by following the direct links from the email notifications.
Alternatively, you can also navigate to the reports as follows:
- In the Personal Reports menu, stay with the Generated Reports tab which opens by default.
- The reports are listed on the left, whereas the topics belonging to the selected report are listed on the right.
- Use the
 filter icon above the list of reports, if you need to see a specific report only. The item count in blue from the left side displays the summarized number of the entries of all topics that are part of the selected report: