Filter widget: Using query conditions
This example describes the process of using custom filters to query the widgets on your dashboard.
Besides using the Filter widget to filter for devices, specific date time ranges, or text, you can define query conditions. The data on your dashboard can be filtered in the same way as in the Data Browser, the Input History, and in the Users sections.
Prerequisites
You have created a query template in the Data Explorer > Template Designer and added a parameter with the data type JSON.
Configuring the Filter widget
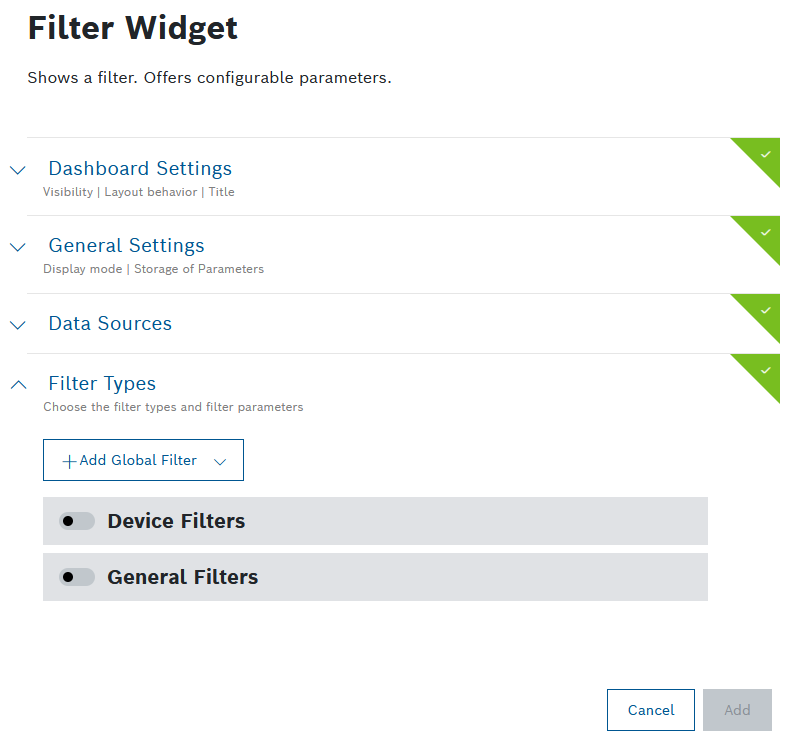
Select the Filter widget in the widget list.
→ The widget configuration page is displayed.
Configure the Dashboard Settings as desired.
Configure the General Settings as desired.
Open the Filter Types pane to configure general filters.
Activate the General Filters switch.
Click the Add filter drop-down list and select the filter parameter Query Condition.
→ The filter parameter is added.
In the Display Name field, enter a name that will be displayed, e.g. Custom Property.
In the Path field, enter a path that you want to search, e.g. payload.consumption.
In the Data Type drop-down list, select a data type which matches your data type of the path, e.g. Number.
Select an operator, e.g. Greater than.
In the Value field, enter any value you want to search for, e.g. values greater than 1200.
Click the Add Condition button to add another condition.
Repeat steps 7 to 10 and add the following values:
Path: payload.consumption
Data Type: Number
Operator: Less than
Value: 5000
Click the Save button.
Applying the filter
In the Filter widget, click the Add Filter button.
In the drop-down list that opens, select the configured filter.

Enter the conditions as follows:

To display the database query, click the Show Query button.
Click the Apply button.
→ The consumption values are filtered as defined in the query condition.